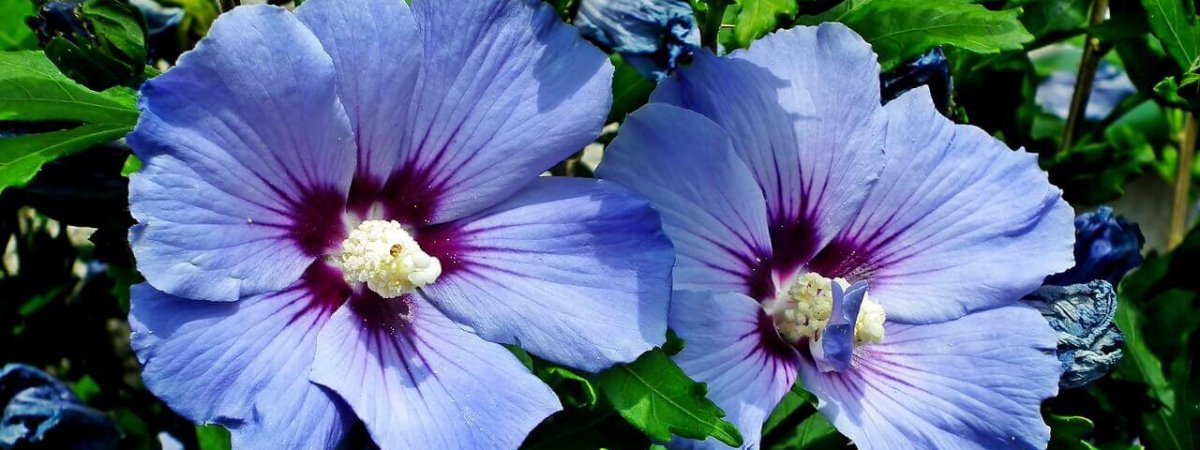
Hibiscus is a beautiful plant that bears colorful flowers and adds to the beauty of your garden. Anyone who is planning to propagate hibiscus in their home, it is a simple and quick process. You can propagate hibiscus from cuttings by following a few easy steps we have brought to you in this informative gardening blog.
Whether it is hardy hibiscus or tropical hibiscus, you can propagate both in similar ways. However, the hardy variety is easier to grow than the tropical ones. But, with proper guidance, you can propagate either of the varieties with ease.
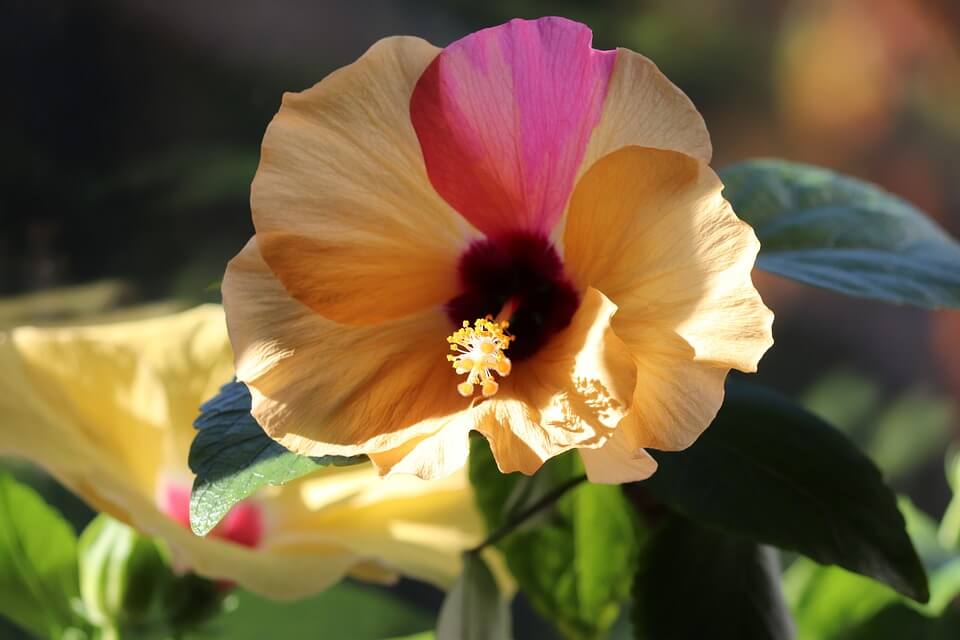
Cuttings are the most recommended and simplest ways of propagating hibiscus. Learn how.
Propagating Hibiscus
Before moving to the step-by-step guidance of propagating hibiscus from cuttings, you should know about the types of cutting into which the plant is classified.
There are three types of hibiscus cuttings based on different types of woods, such as:
Tip cuttings
Tip cuttings are usually taken in the summer when the growing season is at full pace. You can cut 10-15cm of the tips – a clean cut at 45-degree angle. Keep the cutting dipped in a hormone rooting powder perfect for softwood cuttings.
It can be a mixture of perlite, coarse river sand, peat and vermiculite, or a mixture of peat, sand and perlite.
In the case of large leaves, the leaf area should be cut to half. The cutting works well when placed in single propagating tubes. Nevertheless, you can place them in one community pot, like glasshouses.
Medium Wood Cuttings
Medium wood cuttings are taken in the autumn season when the softwood starts to mature. Choose wood that is thinner than a pencil in thickness. Remove all the leaves except the top tree leaves from the stem/wood. Reduce them to half, and make a diagonal cut of about 7.5cm below the last leaf of the stem. Now, the cutting is set to be planted. Keep it in a medium wood hormone powder, and plant in separate propagating tubes in the same way as in the case of tip cuttings. Keep it under cover or glass.
Hardwood Cutting
The best time of getting a hibiscus cutting is late winter or early spring season.
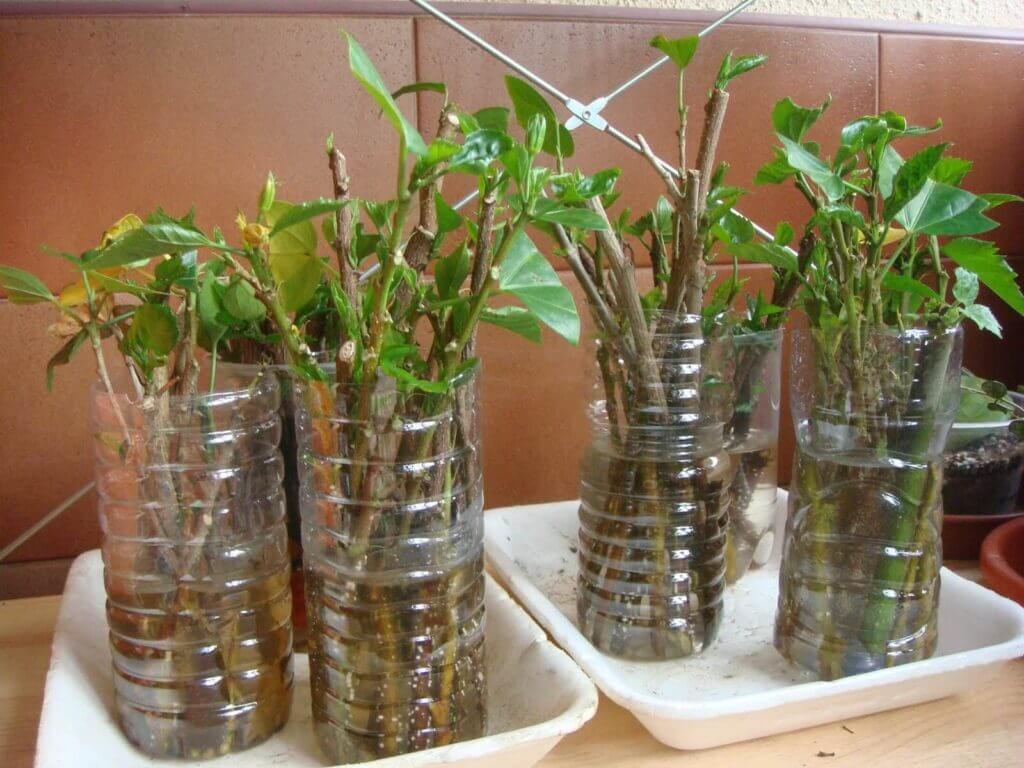
Hardwood cutting is considered great as the better the wood, the better will be the new plants. Remove all the leaves – bend them backward against the stem or cut off with secateurs. If the leaves are dry, do not pull them because it can tear off the bark.
You can use a sharp knife to cut a stem at 45-degree angle through an eye. Try slicing it fine with one stroke. Trim it to a length of 12.5-15cm. Keep the cuttings in separate propagating tubes or in community pots of 15cm height that can hold around 30 cuttings.
For hardwood cuttings, make a mix of coarse river sand and peat for the rooting medium. However, you can also try perlite, sand and peat for the rooting medium.
To remove the rooted cuttings from the community pots without damaging roots, separate them in a bucket of clear water before potting. Watering them with a solution of water and Formula 20. Dip the cuttings in a hormone powder before planting, preferably a medium or hardwood type. Most people plant their cuttings too deep. Insert them into the rooting medium to a depth of 2.5 to 3.7 cm (1 – 1½ in).
A step-by-step guide to propagating hibiscus from cuttings
The first step for propagating hibiscus from cuttings is to take the perfect cutting and prepare it for planting. You can choose from the above-mentioned types.
We would recommend you to consider the softwood ones for easy propagation. Softwood cuttings can be taken easily during spring or early summer.
Now that you have your selected kind of cuttings ready, follow the steps for propagating hibiscus:
- The cuttings of the hibiscus plant should be around 4-6 inches (10-15cm) in length.
- Remove all the leaves but the top three and trim the cutting at the bottom of the stem, exactly below the last leaf node.
- Dip the hibiscus cutting’s bottom in a rooting hormone solution.
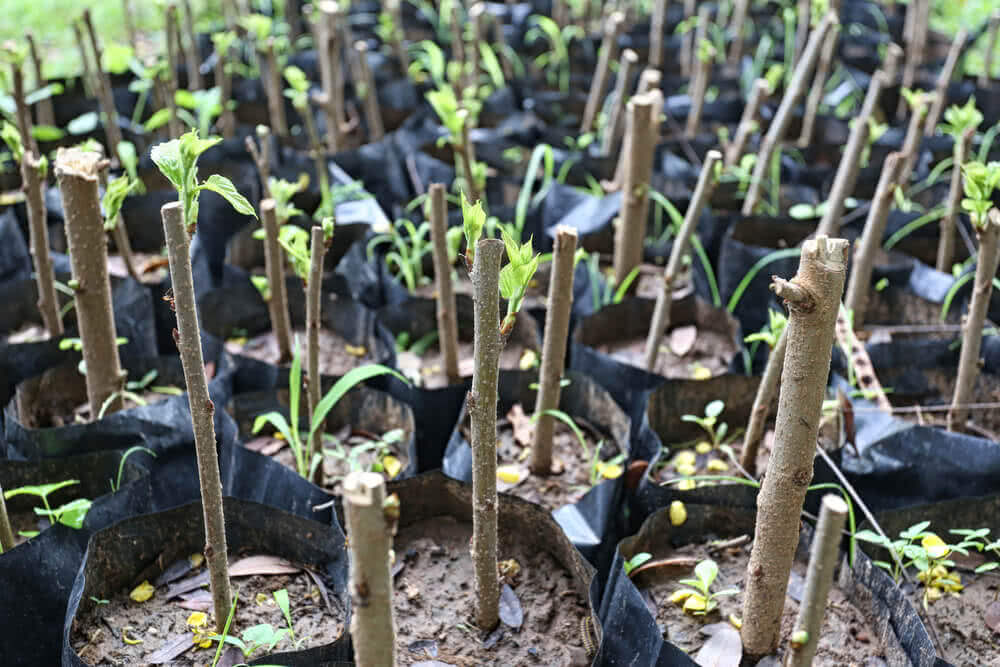
- Now, place the prepared cutting in well-drained soil to start the propagation process.
- A mix of perlite and potting soil in equal proportions is perfect to be used as the rooting medium.
- Make sure the mix is wet. Put a finger in it to create a hole.
- Put the hibiscus cutting into the dug hole and fill it with the mix. Create individual propagating mediums for each cutting (if you have got multiple cuttings for propagation).
- Cover the planted hibiscus cuttings with a plastic bag, however, don’t let the plastic bag touch the leaves.
- Keep the plant in partial shade. If you have planted it directly in your garden, choose a place that experiences frequent shade throughout the day.
- Until the cuttings are rooted, ensure the rooting soil is damp. Usually, the cuttings are well-rooted in eight weeks.
- As soon as they are rooted, you can transplant them to a bigger pot or a garden.
Note: Tropical hibiscus has a lower success rate as compared to the hardy hibiscus cuttings. However, you can have multiple cuttings of tropical for a better chance of getting at least one rooted successfully.
When the plant rises to a height of 1-2ft, you can move it to the garden directly.
How to take care of hibiscus?
You need not make a lot of efforts to take care of the hibiscus plant. Simply make sure your area favors certain conditions for it to thrive.
Let’s take a look at a few suggestions for growing a healthy, happy hibiscus plant.
Type of Soil
Hibiscus grows well in slightly acidic soil. If the soil in your garden is not acidic, you can attempt to increase the level by adding peat moss to your garden.
Watering Hibiscus
Hibiscus needs moist soil to grow, but it also needs to be drained well.
The best way to ensure that the plant will receive adequate water is to use an irrigation system that will drain out any excess water.
Optimal Lighting
The best location for a hibiscus plant is a location that is going to get direct sunlight for five to six hours a day.
Temperature Requirements
The temperature should be around 90-degree Fahrenheit. Once the temperatures get somewhere near the 32-degree Fahrenheit mark, the plants must remain indoors so that the cold weather does not cause damage to the plant.
Fertilizing Hibiscus
A great way to encourage growth in the plant is to add compost bark or worm castings to the soil once a year or more.
Wintering Hibiscus
In the winter season, you may notice that your plant’s leaves are turning yellow. This is a trait that will develop if you have been over watering your hibiscus plants. They should be watered regularly throughout the season, but only when the soil is dry.
Conclusion
Wasn’t that a smooth and easy process of propagating hibiscus from cuttings? So, why not simply ask a friend for hibiscus cuttings from the garden instead of buying a plant. You can even do it yourself without seeking help from a nursery. Plant it and wait for a couple of months or a little more for the colorful blooms.
Gardening is fun when you know the right ways to do it and that’s what we propose to do! Show you the best DIY gardening techniques.
You may also like to read
Growing Marigolds: Know the Various Types and Everything Significant

