Isn’t growing your own garlic a fulfilling task? No matter how many varieties of garlic are available in the market, the flavor, taste, and smell always diversify from a clove of homegrown garlic.
Growing garlic is an easy task. But what happens if you don’t have a garden or piece of land to grow? Can it be grown in a pot or container?
Undoubtedly Yes. you can grow garlic in a pot. How? We will share with you the information or a detailed guide that how to grow garlic in a pot.
Best varieties of garlic to grow on pots
There are basically two varieties of garlic that are used to grow on pots that including hard neck garlic and soft neck garlic.
Hard neck garlic
The hard neck garlic is best grown in colder climates. Due to its hardiness, it is planted in those areas where the colder temperature is normal climatic conditions. This type of garlic has a hard central stock with a single layer of cloves around it.
Soft neck garlic
The soft neck garlic varieties are less winter hardy. They are often grown in mild climates due to their hardiness zone. This type of garlic has swirling layers of cloves and no defined neck.
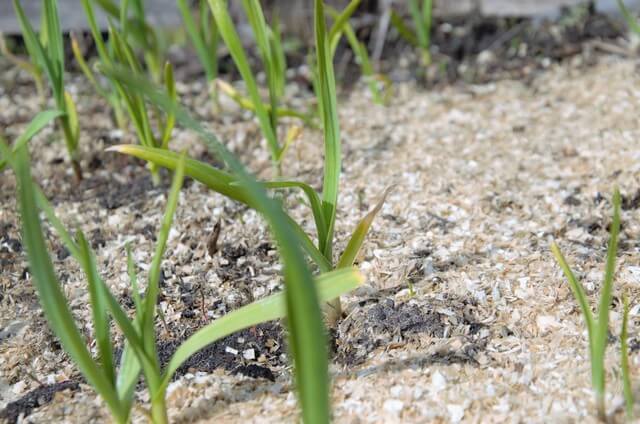
Growing basics of garlic
Before diving into the knowledge of how to grow garlic in a pot, you should have some knowledge about the growing basics of a garlic plant which can lead you to a better understanding of the growing guide of the garlic in a pot.
So basically, garlic has a longer growing period that takes about 8 to 9 months for a small planted garlic clove to develop into a ready to harvest a head of garlic.
The cloves of the garlic are generally planted during the autumns in the cooler climates basically at the time of the first frost and the heads are not harvested till the following summer.
Once you have chosen the variety of the garlic to grow in a pot, the next most important step is to find out a perfect container or pot where it will grow. Click To TweetHow to grow garlic in a pot?
To grow garlic in a pot, these are the following procedure.
Select a container for growing garlic
Once you have chosen the variety of the garlic to grow in a pot, the next most important step is to find out a perfect container or pot where it will grow.
It is recommended to use plastic, glazed ceramic, fiberstone, or plastic-stone pot if you are in a dilemma choosing the type of pot. Also, ensure that the pot you have chosen is frost-free and would not break if settled outdoor during the winter days.
The selected container must be 8 inches deep and 22 inches in diameter to provide the required space for the growth of the roots with a drainage hole in the bottom. The larger the container, the more cloves you can plant there.
prepare the soil mix for the pot
When it comes to growing garlic in a pot, it is a very crucial step to make the proper soil mix for the pot.
Garlic requires a fertile soil mix to support the tall plants and expanding heads in the spring and summer. It also requires a well-drained soil mix otherwise the roots of the garlic may rot.
To make the soil for the garlic mix one-fourth of compost or organic matters to the three fourth high-quality potting soil. Add that soil to the pot and left it for adding some fertilizer.
Add fertilizer to the soil
Once you have filled the pot or container with the proper soil mix, it is the right time to add some fertilizer. Fertilizer ensures the proper growth of the plant.
Being a bulbous plant, the garlic plant requires a phosphorus content to produce top-sized heads of garlic. To fertilize the soil, add 2 to 3 tablespoons of a granular organic fertilizer that’s formulated specifically for bulbs into the pot. Mix the fertilizer thoroughly into the soil by stirring it in the soil.
Plant the garlic into the soil
Plantation of the garlic into the soil should be done during the first frost. Split the head of garlic into its individual cloves by cracking it apart and saving the bigger cloves to plant.
Sink the bigger cloves you saved into the soil with the pointy end up and ensure that the base of the clove sits about 3 inches beneath the soil surface. Push each clove down into the potting mix with your finger to sink them.
Space the cloves around 3 to 4 inches apart and make sure that they don’t cram together.
After planting the garlic into the soil, water the silk mix well and add some layers of mulch on the top of the pot with the help of straw, and finely shredded leaves to insulate the bulbs throughout the winter.
Add water occasionally for the next 8 to 9 months.
Place the garlic pot in the sun where it can get the light for 6 -7 hours completely. If you are living in a colder climate then move the pot indoor or to a sheltered area, otherwise leave it in the same place.
Take proper care of the garlic plant
If you have moved the pot indoors during the winter, move it back to the sunshine and water it regularly during spring. Add some fertilizer to the surface of the soil again.
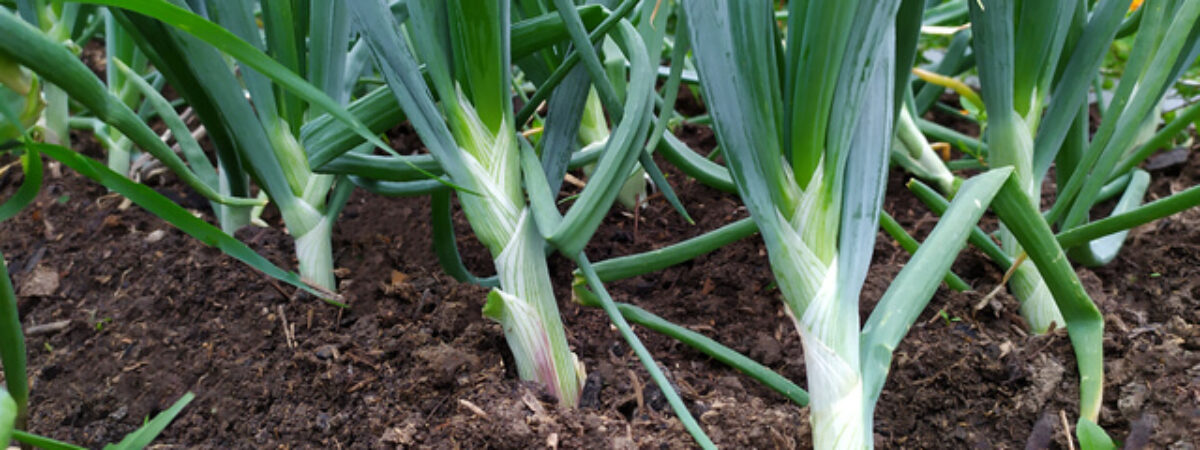
After some days, during early spring, you will notice some green shoots emerge out from the soil that will grow into large green stalks. Snap the scape off from the plant to divert the plant’s energy into growing a bigger bulb and let the foliage turn half yellow.
Then now, it’s time to harvest.
Harvest the garlic
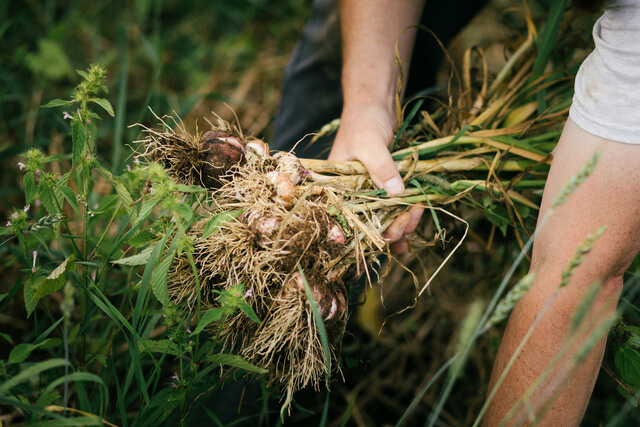
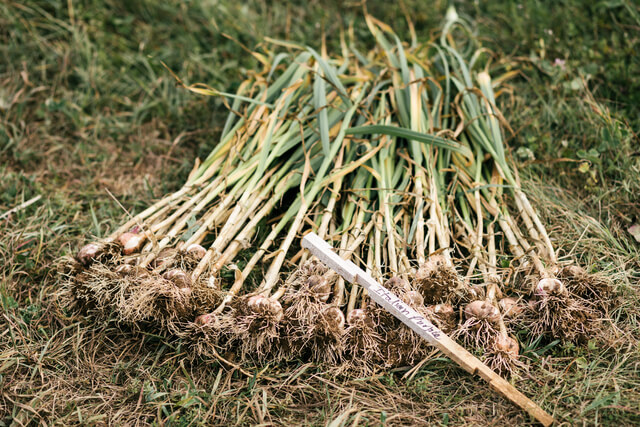
Once the garlic plants turn half yellow, dump out the pots and unearthed the garlic from the pot. Now properly store this harvested garlic in right place.
Growing garlic in a pot is quite challenging as it has a longer growth period and requires regular watering. Click To TweetConclusion
Growing garlic in a pot is quite challenging as it has a longer growth period and requires regular watering. But if you are planting it, it will be worth your effort that you can grow hard-to-find varieties, and you can even grow them inside.
On top of that, the taste of that will make you an instant homegrown garlic addict. Not only it will keep the vampire at its bay but also it will add some better taste to your food.
so what are you waiting for?
As you have read the above article whole, you might have got the guide to growing garlic in a pot. So make your pot ready for growing the garlic at your home and add some homegrown flavors to your recipe.

