If you are looking for a way to add a touch of elegance and beauty to your garden, then Rembrandt tulips are an excellent choice. These stunning flowers feature a unique pattern of contrasting colors that make them stand out from other tulips. But, to ensure that they grow to their fullest potential, you need to give them the right care and attention.
In this article, we will share with you some tips on how to grow and care for Rembrandt tulips, so that you can enjoy their vibrant colors and beauty in your garden.
Plant Overview
Rembrandt tulips are a type of tulip plant that is known for its large, showy flowers with unique, flame-like patterns on the petals. These patterns can be a combination of colors such as red, yellow, white, and purple, and create a stunning visual display in any garden or floral arrangement.
Rembrandt tulips are a hybrid variety of tulip that was first developed in the 17th century during the Dutch Golden Age. They were named after the famous Dutch painter, Rembrandt, who was known for his use of vibrant colors and dramatic contrasts in his artwork.
The plant itself is a bulbous perennial that grows from a bulb planted in the fall. It typically blooms in the spring, producing a tall stem with a single flower at the top. The leaves are long and narrow and grow from the base of the stem.
Rembrandt tulips require well-draining soil and plenty of sunlight to grow and bloom properly. They can be planted in garden beds, containers, or as part of a mixed border. They are also popular as cut flowers and can last for up to two weeks in a vase with proper care.
Overall, Rembrandt tulips are a beautiful and unique addition to any garden or floral arrangement and are sure to impress with their vibrant colors and striking patterns.
When to plant Rembrandt tulips?

Rembrandt tulips should be planted in the fall, usually from September to November, before the ground freezes. This allows the bulbs to establish roots before the winter sets in and the ground become too cold.
It is important to plant Rembrandt tulips in a location with well-draining soil and full sun exposure. The bulbs should be planted at a depth of 6-8 inches, with the pointed end facing up. Space the bulbs about 4-6 inches apart to allow for proper growth and development.
If you live in an area with mild winters, you may need to pre-chill your tulip bulbs in the refrigerator for a few weeks before planting. This helps mimic the cold temperatures they would experience in their natural habitat and encourages proper growth and blooming.
Overall, planting Rembrandt tulips in the fall is essential for a beautiful spring display of their unique and vibrant flowers.
Where to plant Rembrandt tulips?
Rembrandt tulips should be planted in a location that receives full sun exposure, meaning at least 6 hours of direct sunlight per day. They also require well-draining soil that is rich in organic matter and nutrients.
When choosing a planting location, it is important to consider the size of the mature tulip plant, which can grow up to 2 feet tall. Make sure there is enough space between each bulb to allow for proper growth and development. Rembrandt tulips are also suitable for planting in containers, as long as the container is deep enough to accommodate the bulb and soil.
In terms of soil type, Rembrandt tulips prefer a slightly acidic to neutral pH (around 6.0-7.0). If your soil is too alkaline, you can amend it with sulfur or other acidic materials to adjust the pH level.
Avoid planting Rembrandt tulips in areas with poor drainage or where water tends to collect, as this can lead to root rot and other issues. Additionally, it is recommended to avoid planting tulips in the same spot for consecutive years, as this can lead to disease and decreased bulb productivity.
How to care for Rembrandt Tulips?

Light
Rembrandt tulips require full sun exposure to grow and bloom properly. This means they need at least 6 hours of direct sunlight per day, although more is better.
If planted in a location that receives partial shade, such as under a tree or next to a building, the tulips may not grow as tall or produce as many flowers as they would in full sun. They may also be more susceptible to diseases and pests.
It’s important to choose a planting location that receives full sun for the majority of the day, and has well-draining soil. If your planting location is not receiving enough sunlight, consider relocating your tulips to a sunnier spot or removing any nearby shade sources that may be blocking sunlight.
Overall, providing adequate sunlight is crucial for the growth and success of Rembrandt tulips.
Temperature
Rembrandt tulips have specific temperature requirements to grow and bloom properly. They are cold-hardy plants that require a period of cold temperatures to stimulate root growth and flower production.
In general, Rembrandt tulip bulbs should be planted in the fall, before the ground freezes. The bulbs will then be exposed to the cold winter temperatures, which will help initiate the process of bulb development.
Once the temperatures start to warm up in the spring, the bulbs will start to grow and produce flowers. Rembrandt tulips prefer cool temperatures in the range of 50-60°F (10-15°C) during the growing season.
If temperatures get too warm during the growing season, the tulips may not perform as well and may even stop blooming altogether. To help keep the soil cool and moist during the growing season, it can be helpful to add a layer of mulch around the base of the plants.
Overall, Rembrandt tulips require cold temperatures in the fall and cool temperatures in the spring to grow and bloom properly. Make sure to plant your bulbs at the appropriate time and provide adequate soil moisture and temperature regulation for optimal growth and flowering.
Humidity
Rembrandt tulips do not have specific humidity requirements, but they do prefer a moderate to low humidity level. High humidity can increase the risk of fungal diseases, such as Botrytis (gray mold), which can damage the bulbs and affect flower production.
To help control humidity levels around your Rembrandt tulips, it’s important to plant them in a location with good air circulation. This can help prevent moisture from building up around the plant and reduce the risk of fungal diseases.
Additionally, it can be helpful to avoid overwatering the tulips and to allow the soil to dry out slightly between waterings. This can help prevent excess moisture in the soil, which can lead to fungal diseases.
Overall, while Rembrandt tulips do not have specific humidity requirements, it is important to keep their growing environment dry and well-ventilated to help prevent fungal diseases and promote healthy growth and flowering.
Soil
Rembrandt tulips require well-draining soil that is rich in organic matter and nutrients. They prefer soil with a slightly acidic to neutral pH (around 6.0-7.0) and do best in soil that is loose, crumbly, and well-aerated.
Before planting Rembrandt tulips, it’s a good idea to prepare the soil by adding compost, aged manure, or other organic matter. This can help improve soil fertility, texture, and drainage, which can all contribute to healthy bulb growth and flower production.
It’s also important to ensure that the soil is not too compacted, as this can inhibit bulb growth and lead to poor drainage. If your soil is heavy and clay-like, you can improve its texture by adding sand or perlite to help loosen it up.
In addition to proper soil preparation, it’s important to avoid planting tulips in areas with poor drainage or where water tends to collect. This can lead to root rot and other issues that can damage or kill the bulbs.
Overall, providing well-draining, nutrient-rich soil is essential for the health and success of Rembrandt tulips. With the right soil conditions, these beautiful tulips can thrive and produce stunning blooms in the spring.
Water
Rembrandt tulips require regular watering during their growing season, but it’s important to avoid overwatering, as this can lead to issues such as root rot.
When first planted, Rembrandt tulip bulbs should be watered thoroughly to help settle them into the soil. After planting, the soil should be kept moist but not waterlogged, as excess moisture can cause the bulbs to rot.
During the growing season, Rembrandt tulips require about 1 inch (2.5 cm) of water per week. This can be come due to rainfall or manual watering. It’s important to water deeply so that the soil is moistened to a depth of at least 6 inches (15 cm). This encourages the tulip roots to grow deeper and helps to promote healthy growth.
It’s also important to avoid getting water on the tulip leaves or flowers, as this can lead to fungal diseases. Instead, water the soil around the plant, using a soaker hose or watering can, and try to keep the foliage as dry as possible.
Overall, providing consistent, moderate watering is key to the health and success of Rembrandt tulips. By following these watering guidelines, you can help ensure that your tulips grow and bloom to their full potential.
Fertilizer
Rembrandt tulips require fertilizer to promote healthy growth and flowering. It’s important to fertilize the bulbs at the right time and with the right nutrients to ensure their success.
When planting Rembrandt tulips, it’s a good idea to mix a slow-release bulb fertilizer into the soil. This can help provide the bulbs with the nutrients they need to establish healthy roots and promote strong growth. You can also add a layer of compost or aged manure to the soil to provide additional organic matter and nutrients.
After planting, you can continue to fertilize Rembrandt tulips throughout the growing season. It’s best to use a balanced, water-soluble fertilizer, such as a 10-10-10 or 20-20-20 fertilizer, applied every 4-6 weeks. Be sure to follow the manufacturer’s instructions for application rates and methods.
It’s also important to avoid fertilizing Rembrandt tulips after they have finished flowering, as this can lead to excess foliage growth at the expense of bulb development. Instead, allow the foliage to die back naturally, and then remove it once it has turned yellow and brown.
Overall, providing regular fertilizer applications can help ensure the health and success of Rembrandt tulips. With the right nutrients, these beautiful tulips can produce strong, healthy growth and stunning blooms in the spring.
After blooming care of Rembrandt tulips

After blooming, it’s important to care for Rembrandt tulips to ensure their health and success in future growing seasons. Here are some tips for caring for Rembrandt tulips after they have finished blooming:
Allow the foliage to die back naturally:
After the tulip blooms have faded, the leaves will continue to grow and photosynthesize, providing energy to the bulb for future growth. It’s important to allow the foliage to die back naturally, turning yellow and brown, before removing it. This typically takes 6-8 weeks after blooming.
Don’t cut back the foliage prematurely
It’s important not to cut back the foliage prematurely, as this can prevent the bulbs from receiving the energy they need for future growth and flowering.
Remove any seed pods
If your Rembrandt tulips have produced seed pods, it’s a good idea to remove them, as this can divert energy away from bulb development.
Provide regular watering and fertilization
During the post-blooming period, it’s important to continue providing regular watering and fertilization to help support bulb development and future growth.
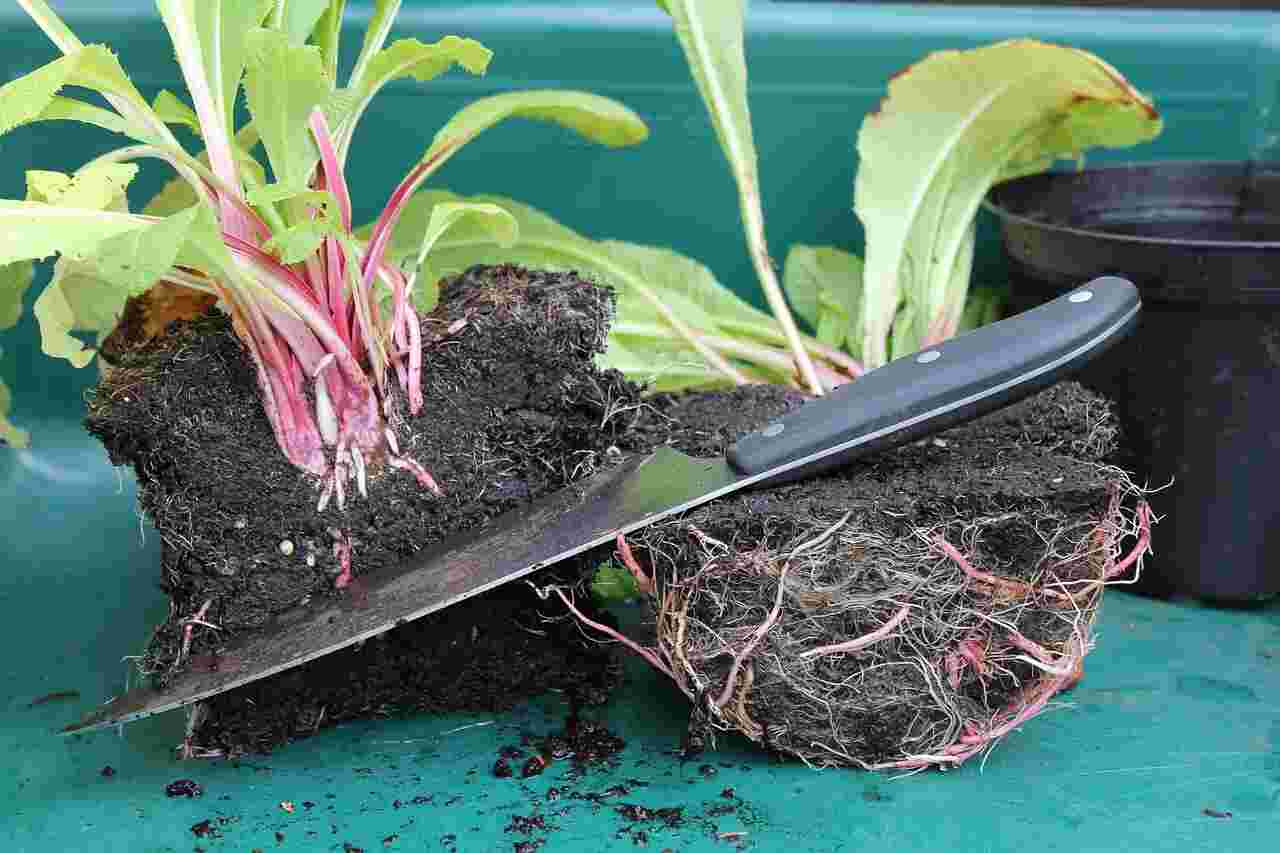
Dig up and divide bulbs if necessary
Rembrandt tulip bulbs should be divided every few years to prevent overcrowding and promote healthy growth. This is typically done in the fall after the foliage has died back. Dig up the bulbs, separate them into individual bulbs, and replant them in fresh soil.
By following these tips for caring for Rembrandt tulips after blooming, you can help ensure the health and success of your tulip bulbs for years to come.
Tips on cutting and arranging Rembrandt Tulips
Rembrandt tulips make a stunning addition to floral arrangements, and with proper care and handling, they can last for several days. Here are some tips for cutting and arranging Rembrandt tulips:
Choose fully matured tulips
When choosing Rembrandt tulips to cut for floral arrangements, select fully matured blooms with vibrant color and firm petals.
Cut tulips in the morning
Cut Rembrandt tulips in the morning when the stems are fully hydrated and the flowers are fully open.
Use sharp, clean scissors or shears
Use sharp, clean scissors or shears to make a clean, angled cut on the stem, and avoid crushing or damaging the stem.
Remove excess foliage
Remove any foliage that will be below the water line in the vase to prevent bacterial growth and keep the water clean.
Use a clean vase and freshwater
Use a clean vase and fill it with fresh, room-temperature water. Add a floral preservative to the water to help prolong the life of the tulips.
Arrange tulips loosely
Arrange the tulips loosely in the vase, allowing them to naturally spread out and display their unique color patterns.
Keep the vase out of direct sunlight and drafts
Rembrandt tulips prefer cool temperatures and indirect light, so keep the vase out of direct sunlight and away from drafts.
Re-cut stems and change the water regularly
Every few days, re-cut the stems at a 45-degree angle and change the water to help prolong the life of the tulips.
By following these tips for cutting and arranging Rembrandt tulips, you can create stunning floral arrangements that showcase the beauty of these unique tulips.
Pests and diseases

Rembrandt tulips can be affected by several pests and diseases, including
Aphids
These small insects can cluster on the leaves and flowers of Rembrandt tulips, causing damage by sucking sap from the plant.
Slugs and snails
These pests can chew on the leaves and flowers of Rembrandt tulips, causing significant damage.
Botrytis
This fungal disease can cause gray mold on the leaves and flowers of Rembrandt tulips, especially in damp, humid conditions.
Tulip fire
This fungal disease causes the leaves of Rembrandt tulips to turn brown and wither. It can spread quickly and cause significant damage to the plant.
Bulb rot
This disease can cause the bulbs of Rembrandt tulips to become soft and mushy, leading to plant death.
Virus disease
Rembrandt tulips can be affected by various virus diseases, which can cause stunted growth, yellowing of leaves, and distorted flowers.
To prevent and manage these pests and diseases, it’s important to practice good cultural practices, such as proper watering, fertilization, and sanitation. Additionally, you can use insecticidal soaps, fungicides, or other treatments as necessary to control pests and diseases. If you notice any signs of disease or pest infestation on your Rembrandt tulips, it’s important to take action immediately to prevent further spread and damage.
Conclusion
Growing and caring for Rembrandt tulips may require a bit of effort, but the results are well worth it. By following the tips outlined in this article, you can ensure that your Rembrandt tulips grow to their fullest potential.
You may also like to read
A Beginner’s Guide to Fiddle Leaf Fig: From Planting to Pruning
Bringing Life to Your Landscape: How to Grow and Care for a Flowering Dogwood Tree