Turmeric! One of the exotic and mysterious crops that most gardener lust after. Being golden and good for your ground spice, it is a familiar plant among people. However, they are not sure about how to grow it in the garden.
Are you one of them? Do you want to grow turmeric plants in your garden? But not sure about how to grow them?
Don’t worry. We got your back.
We have created a growing and caring guide for the turmeric plant. So let’s dive into the article below to get the right idea about how to grow and care for the turmeric plant.
Plant Overview

Turmeric is a perennial herb that is used in food as well as for health benefits. Being native to the monsoon forests of southeast Asia, this perennial herb to 1m tall with underground rhizomes.
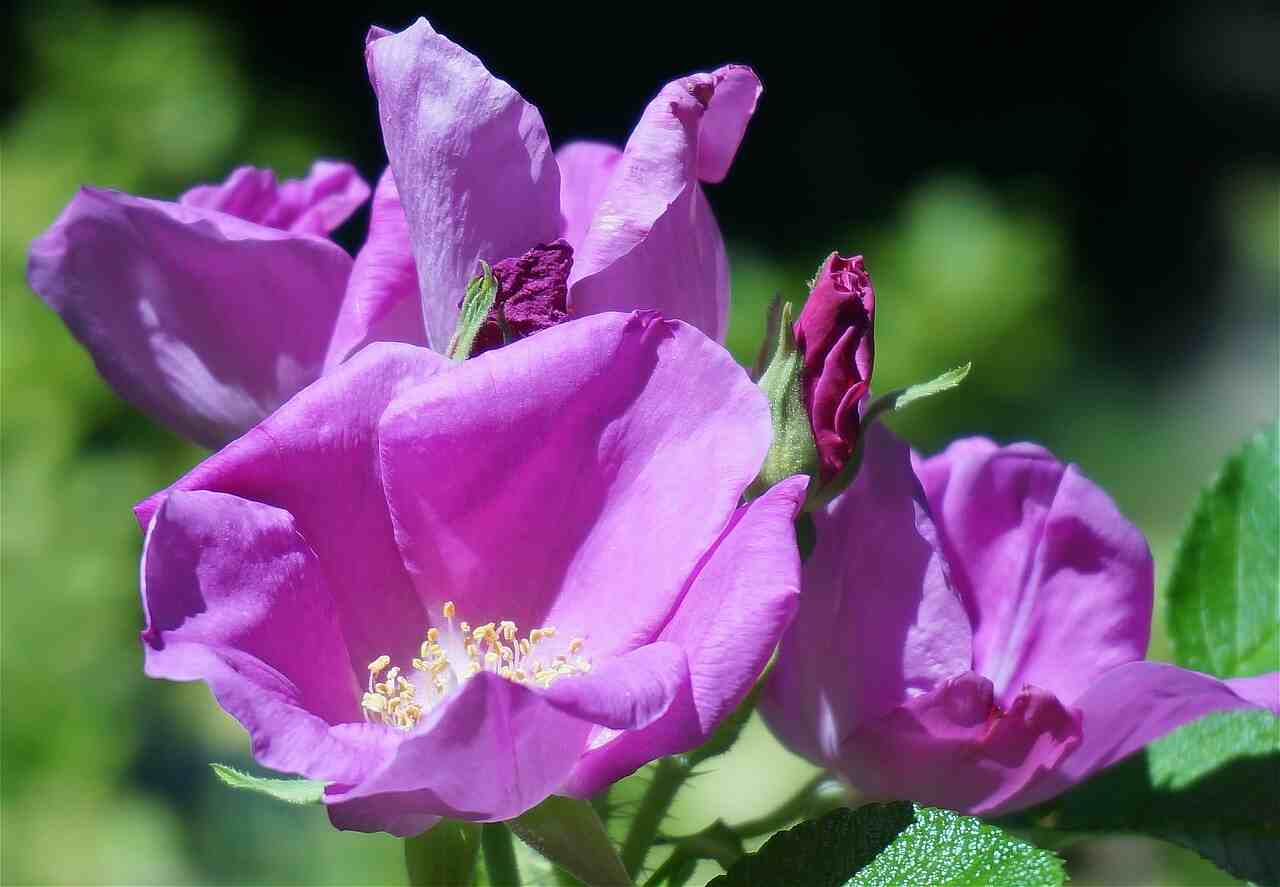
This plant can produce tall, very beautiful, white flower spikes if the clumps of the plant are left undisturbed for a year. The turmeric flower is so attractive that it is worth growing for this alone.
To grow, this plant requires well-drained soil, a frost-free climate, and at least 1000 to 2000mm of rain annually or supplementary irrigation. Besides, it requires loamy or alluvial fertile soils to thrive and cannot stand waterlogging. Partial shade is often required to grow as heavy shade will reduce the yield.
How to grow turmeric?

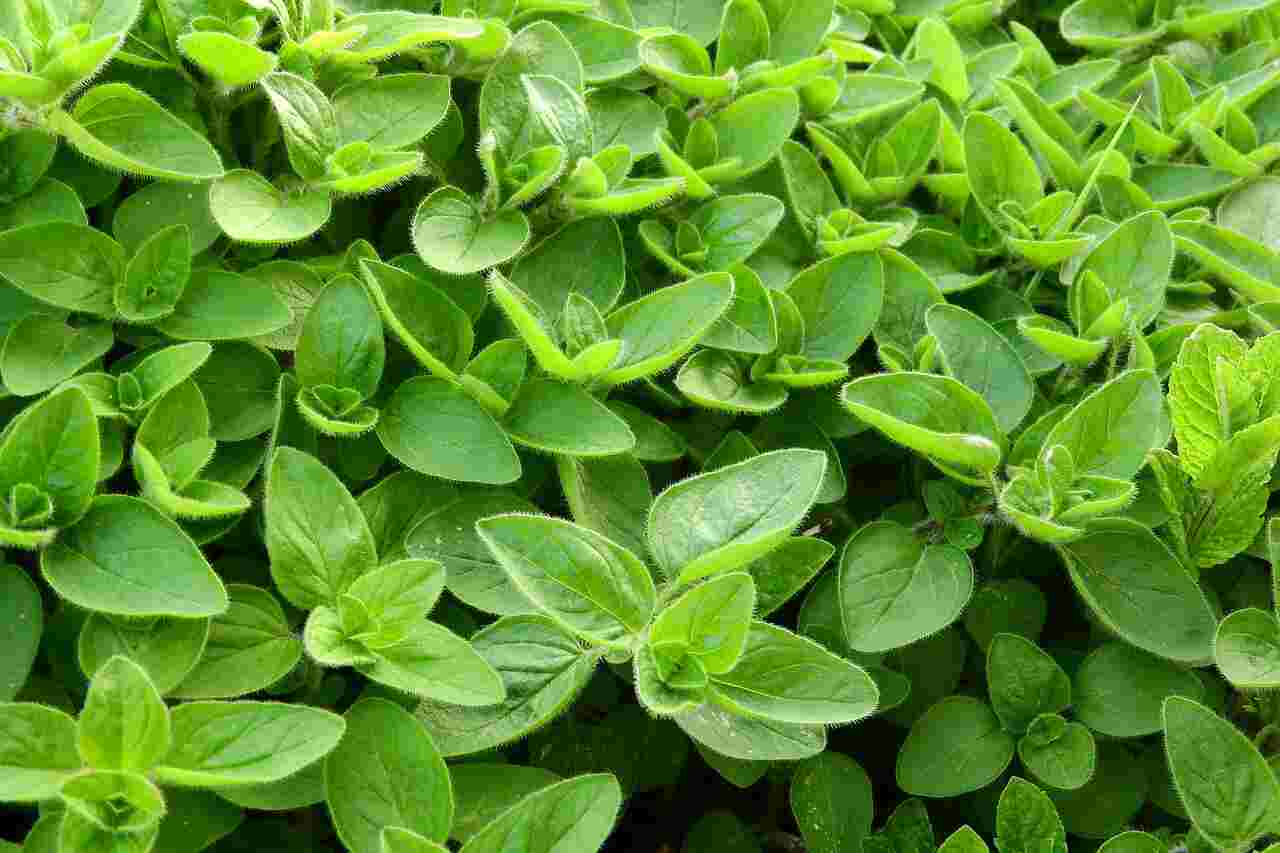
Turmeric or scientifically termed the Curcuma longa is a perennial herb that is closely related to the family of ginger. That said, almost all of these growing tips that are applied to ginger can also be applied to turmeric as well! However, growing ginger can be a little more finicky.
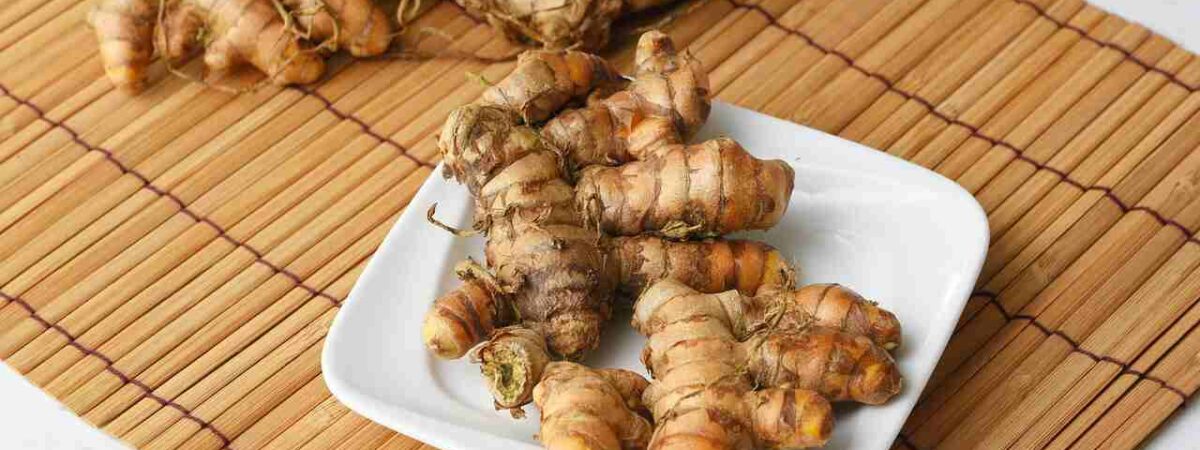
It doesn’t have typical have the tiny “seeds” that you imagine for most plants and can be used to grow new plants. Instead, you can grow your turmeric from the pieces of the root system called rhizomes that are planted, which in turn can produce above-ground foliage as well as more, larger rhizomes in the soil below.
Those precious rhizomes are the most important thing that we use when we grow turmeric! Each seed rhizome of the plant is often referred to as a “finger” – because when these fresh rhizomes of turmeric are harvested, the cluster of rhizomes around the center node resembles a hand!
If you are planting this plant in your ground, it is recommended to plant it within September or October, in warm soil. Plant the rhizome 5-7 cm deep. You can also plant it on ridges, usually about 30-45 cm apart and with 15-30 cm between plants.
It is recommended to plant the turmeric by setts (small rhizomes) with one or two buds. Approximately for a one-hectare area, 1,700 kg of setts is required. The expected yield of fresh turmeric would be 13 to 35 tonnes/ha.
In cooler areas of Australia turmeric is generally grown in glasshouses. Like other herbaceous perennials, clumps of turmeric need to be broken up first and fresh pieces are planted every 3 to 4 years.
How do care for the turmeric plant?

Light
Once the sprouts of the plant start to emerge, Check on your pots every few days and move the pots to a windowsill or under a grow light where they can get minimum light.
Unless the house is really warm (the minimum growing temperature during this stage is 77 to 86 degrees) you need to put your sprouts on a heat mat set to the low 80s. As the plants outgrow their plastic covers, remove them and let them grow freely.
Water
Once you plant your turmeric in the garden, you will need to start watering your turmeric as required. Water the plant to keep the soil moist, but do not make it soggy.
Mist the leaves of the plant once or twice a day with water to keep the humidity up. Allow the soil to dry out at any point that will reduce your final harvest.
Soil
Turmeric likes a rich soil to grow. Adding compost and/or manure to the soil can help it achieve this and become rich. The soil should also be well-draining.
Fertilizer
As turmeric needs a lot of nutrients to grow, feed your plant every month. An all-purpose liquid fertilizer will work best.
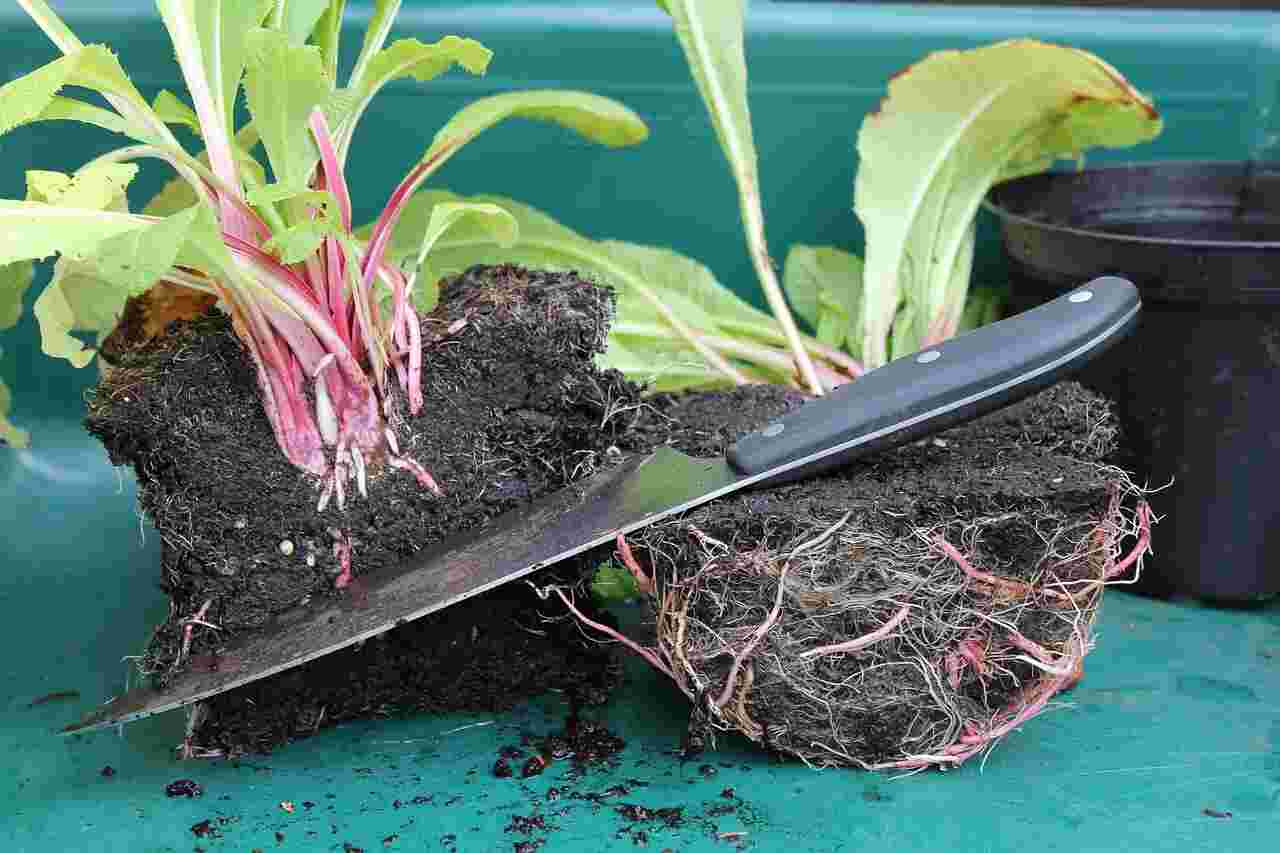
Transplanting
When your turmeric plants are about 6 to 8 inches tall, you need to carefully transplant them into larger pots either to the final ones or to an intermediate size that is full of potting soil for further growth.
Start turning the heat mat down to several degrees each week until you hit 70 degrees. At this degree of temperature, you can remove the heat mat if your indoor temperature averages at about 68 degrees.
Otherwise, it is recommended to continue using the heat mat. Plants that attain intermediate size are now ready to go into the final pots or planters when they become top-heavy or start sending up more shoots.
How to propagate Turmeric?

You can propagate your turmeric plant by saving some of the rhizomes for planting the next season. For that, choose some fresh-looking rhizomes and discard all the moldy, blemished, or rotting ones.
Wash all the dirt off from your rhizomes and store it in a dark, cool, and dry place until the season of planting which is late winter or early spring comes.
You can see new sprouts emerging out on the rhizomes. Cut those rhizomes into sections so that each piece used for planting has a bud or eye. Prepare your soil as mentioned above and plant.
You can also purchase turmeric plants from a nursery, or you can buy turmeric rhizomes brought from a grocery store as well. If the latter is your choice, then lay them in a seed tray that is filled with germination mix, water well, and cover it with a plastic bag.
By making this, you will make a mini-ecosystem that keeps your soil moist until the roots sprout. Once the buds appear on your rhizomes, you can plant them.
Although it is also possible to grow turmeric from seed, it’s not the best way to propagate a turmeric plant. The flowers of your crop may fail to produce seed and if you can find seed, the rate of germination is spotty and could result in a very lengthy procedure to get a healthy plant to reach its full potential and produce a good harvest.
If you have some decent seeds, sow these on a layer of germinating medium or on a moist paper towel and keep the seeds in a dark place to germinate. Seeds will germinate within 20 days.
After the seeds have germinated, transplant the seedlings into pots or larger trays once it reaches the height of 10 inches tall, in well-draining sandy soil that has been sterilized. After 2-3 weeks, you can plant these seeding into the ground or into a permanent container to grow to maturity.
Conclusion

Growing turmeric in the ground is very popular as it has many uses and benefits. Apart from this, it has a great demand in both local as well as international markets.
Growing turmeric is quite easy and takes up a little effort. It can grow anywhere in the ground, pot, or container.
So as you know the growing and caring guide of turmeric, grow it in your garden and let us know how it’s going.
You may also like to read