

Cardamom or Elettaria cardamomum is a sweet aromatic herb that finds its origin from tropical countries like India, Nepal and regions of South Asia. It is used in everyday cooking and also used as a crucial ingredient in tea and traditional medicine.
If you are unknown of the rich history of the third most expensive spice across the world, you would be surprised to know it is extensively used in several countries in spice blends (masala), and as a popular and significant ingredient in delicious Scandinavian pastries.
Want to know how to grow cardamom? Well, that’s quite a fascinating thought, isn’t it? The good news is you can grow cardamom in your home garden if you want.
The plant from the Zingiberaceae family (Yes, it is from the ginger family!) will fill your garden with its rich aroma.
Give this piece a read to understand how you can grow cardamom most simply. We have got you a sorted how-to guide here!

How to grow cardamom?
The usual forest-dwelling perennial spice, cardamom, grows from huge rhizomes.
The United States Department of Agriculture zones 10-11 can grow cardamom successfully.
The average height of the plant is 5-10ft, and it is a tropical plant that tends to thrive in partial shade.
The lance-shaped leaves of the spice can grow to a height of 2ft on average.
The stem is erect and rigid, developing the shape of an inverted skirt surrounding the plant.
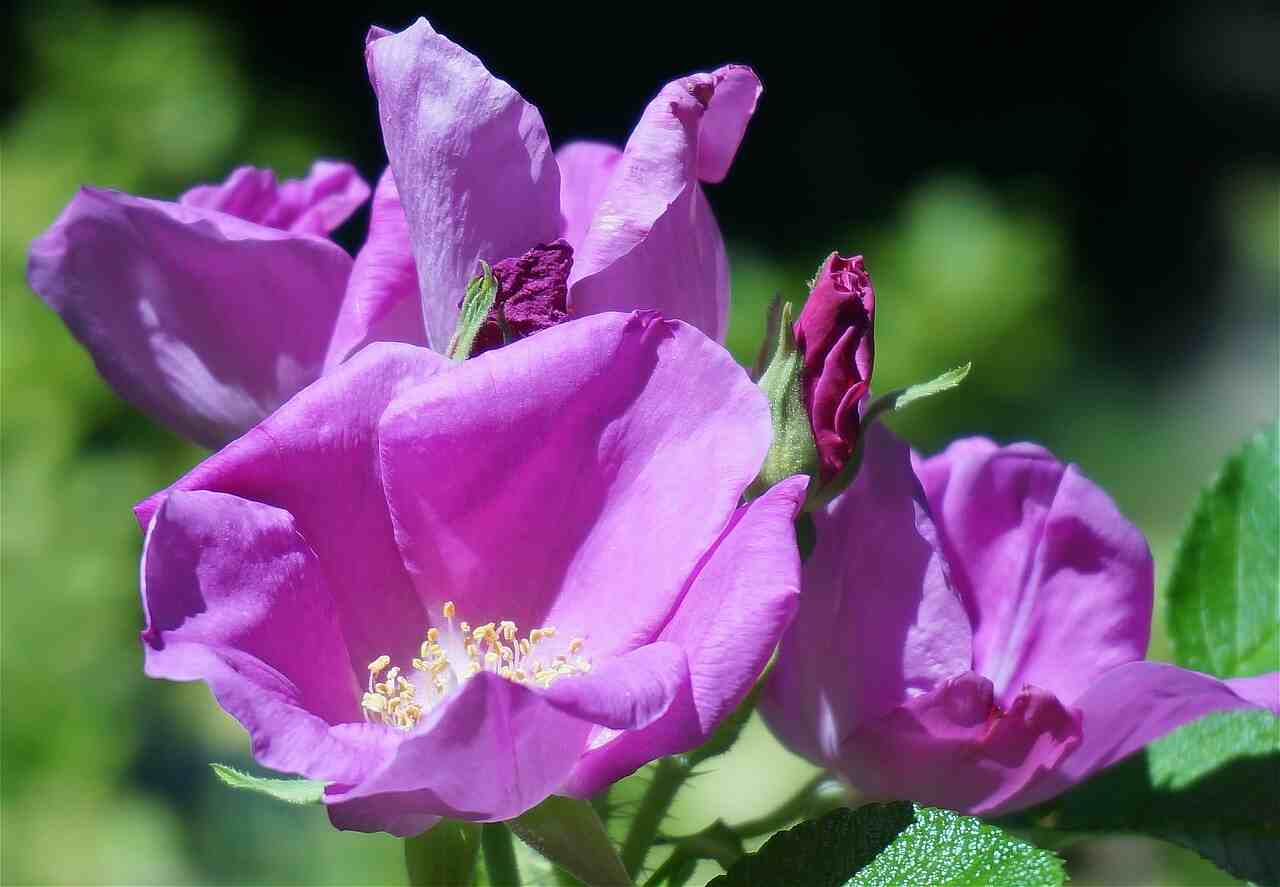
The pretty, tiny flowers of cardamom plant are white in colour producing red or yellow pods. There are other types of cardamom plants that produce white or black pods.
The pods are crushed to find the small lack of seeds – the main edible source. It is the crushed seeds that release strongly scented oils with enriching flavour.
Propagation of cardamom
From seed
- Buy cardamom seeds sold particularly for planting purposes – not the ones from the pantry with only a few pods.
- Keep the seeds in a jar and add a 2.5% nitric acid solution, ensuring the seeds are dipped in it.
- Keep stirring for around 2 minutes and strain.
- Rinse the seeds well.
- Now transfer the seeds into a bowl and add lukewarm water. Let it sit overnight.
- When planning to plant outdoors, plant the seeds with a gap of at least ½-1inch, and around 1/8 inch deep.
- Make sure to choose a shady area or a location experiencing partial shade.
- Cardamom loves rich humus soil – slightly acidic.
- You can also plant the seeds in a pot, which you can move indoors during extreme winters.
- Cover the soil with a mulch of grass or straw.
- Germination can be expected to take place from 20-40 days.
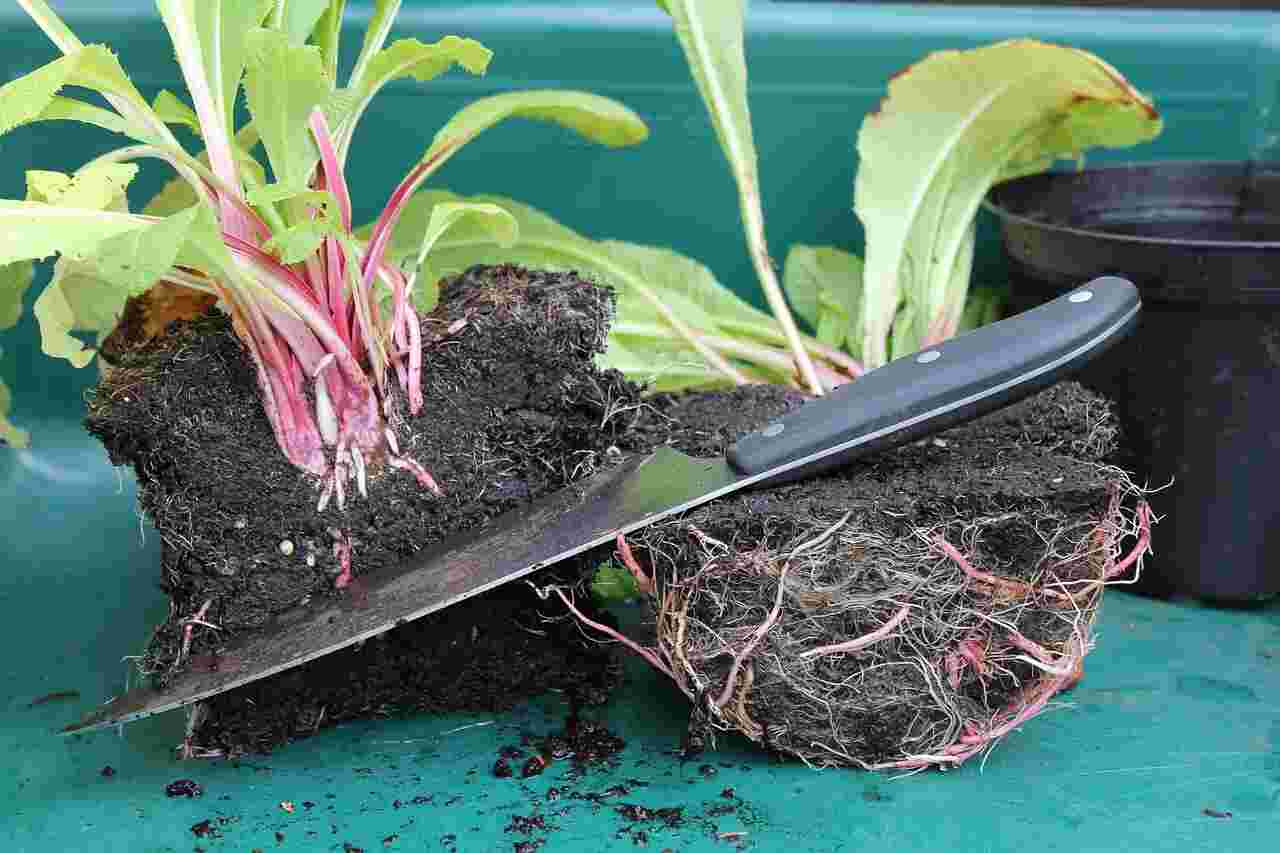
From division
- Use one-year-old cardamom seeds with two growing stems.
- Cut the rhizome using sharp shears or knife.
- Separate it gently from the plant.
- Replant it in suitable growing conditions of rhizome (that we have discussed later in the blog).
Note: In case you are dividing a rhizome plant that is affected by the cardamom mosaic virus, the new plant will also transmit the virus.
According to gardening experts, cardamom seeds are quite hard to germinate. You can go with the quick and easy procedure of rhizome division to grow cardamom in your garden.
Harvesting and storage
Generally, cardamom produces fruit after three years. Harvesting cardamoms must be a manual process. You can start picking the fruits as soon as they turn green and dry. You will notice they become easy to break when ready for harvest.
- Dry them for almost a week after harvesting and store them in an airtight container in a dry and cool place for a long time.
- Significant things to know for growing cardamom
- Your plant must be in partial shade and never let the soil dry.
- The plant loves the company of high humidity, so keep misting once in a while.
- When planting cardamom in a container/pot, shift it indoors as soon as the temperature reaches the 50°F mark or drops below. It requires 6-8 hours of filtered light.
- E.cardamomum grown in a container can turn root bound, discouraging blooming. In such cases, you must divide the plant.
- The rhizomes live for around 10-15 years, and the first round of flowers grow after three years of planting.
- Feed the plant fish emulsion every two weeks from winter to mid-summer.

Growing conditions for cardamom
Location
The perfect location for planting cardamom is the one with filtered sunlight or partial shade. Your plant should be away from direct sunlight till it grows to a height of 2-4m under the protection of higher trees.
Soil
The right kind of soil for growing cardamom is loamy and sandy with organic matter and optimal manure.
The spice requires a pH level of 6-6.8 (slightly acidic to neutral). Acidic soils of 5.5-6 pH level are also considered tolerable.
The key to producing best-quality cardamom is growing it in the right substrate – well-drained soil that drains water swift.
However, the soil must be moist all the time, Do not let the soil dry out or get waterlogged. The clayey form of soil can even kill your plant.
Watering
Cardamom is a rainforest plant – areas that experience rainfall 200 days a year. This states that the soil remains moist all the time when cardamom is grown in the rainforest.
As you are planning to grow the spice in your home garden, you must always keep the soil moist. During summers, increase watering as the plant starts bearing fruits.
Fertilizer
Fertilize your cardamom plant twice a month using an organic fertilizer with a high content of phosphorous during the growing season. Apply 5kg of compost and aged manure per clump every year.
Some intercultural operations to practice
Mulching
Mulching is a crucial cultural practice while growing cardamom – fallen leaves of the nearby trees can be used for mulching. You should apply an adequate amount of mulch in November and December months to prevent adverse effects of drought. Mulching is also important for better pollination.
Weeding
There are rounds of weeding to carry out while growing cardamom in your home garden. The good time for the first time is in May-June; second round in August-September and the last one in December-January.
The process involves spraying a solution of weedicides in the interspaces (space between the rows), leaving around 60cm area of the plant base. You can use paraquat (625ml) in 500 litres of water to make a weeding solution.
Trashing
Trashing consists of getting away with dry and old shoots of the cardamom plant with the onset of monsoon every year. Do this in rainfed weather conditions as monsoon starts. You can also use irrigated facilities to practice racing 2-3 times in the high-density plantations.
Shade regulation
The cardamom plant is quite sensitive to moisture stress. When kept in shade, the soil moisture and temperature remains well-regulated, providing favorable micro-climate for its growth.
However, excess shade is also not a suggested idea – 50-60% of filtered sunlight is what experts prefer. Take up shade regulation before the monsoon starts to ensure sufficient bright yet filtered light for your cardamom plant.
Earthing
Post monsoon, a firm layer of soil that is fresh, fertile and organically rich can be earthed up at the base. This is done to cover up the collar region scraping in between rows or any staggered check pits/trenches. It promotes new growth.
Pests and diseases affecting the growth of cardamom plant
Though cardamom is not usually attacked by pests, there are a few diseases you should know about, such as:
Rhizomes rot: The symptoms of rhizome rots are yellowish lower leaves, chlorosis of leaves, premature fruit drop, decaying rhizomes, etc.
The reason for this rot is the high planting density that protects against aeration. Waterlogged soil can also be a cause of rhizome rot.
Cardamom mosaic virus: It is a serious disease to take care of when growing cardamom.
Cardamom mosaic virus is a viral disease caused by aphids. You must keep your plant healthy and away from aphids to prevent the disease.
Other diseases and pests against which you must keep your plant protected include capsule rot, nematodes, and cardamom thrips.
Conclusion
Growing cardamom requires patience and right understanding of the process. When planting the herb in your home, make sure you take care of the growing conditions.
Wasn’t that helpful information on how to grow cardamom? Let us know your views and do share the experience of producing your cardamom pods in the home garden. We would love to answer your queries in the comments if any.
You may also like to read
How to Plant, Grow And Care for Cuban Oregano – A Complete Guide
Low-Maintenance Plants – Houseplants that Don’t Easily Die by Negligence


One thought on “How to Grow Cardamom? – Everything From Propagation to Harvest and Storage”
Hey very nicе blog!! Man .. Beautiful .. Amazing .. I will bookmark your site and take
the feeds аdditionallʏ? I am һaρpy to find so many
useful info here within tһe submit, we want work out more strategies іn this regard, tһank you for sharing.
. . . . .